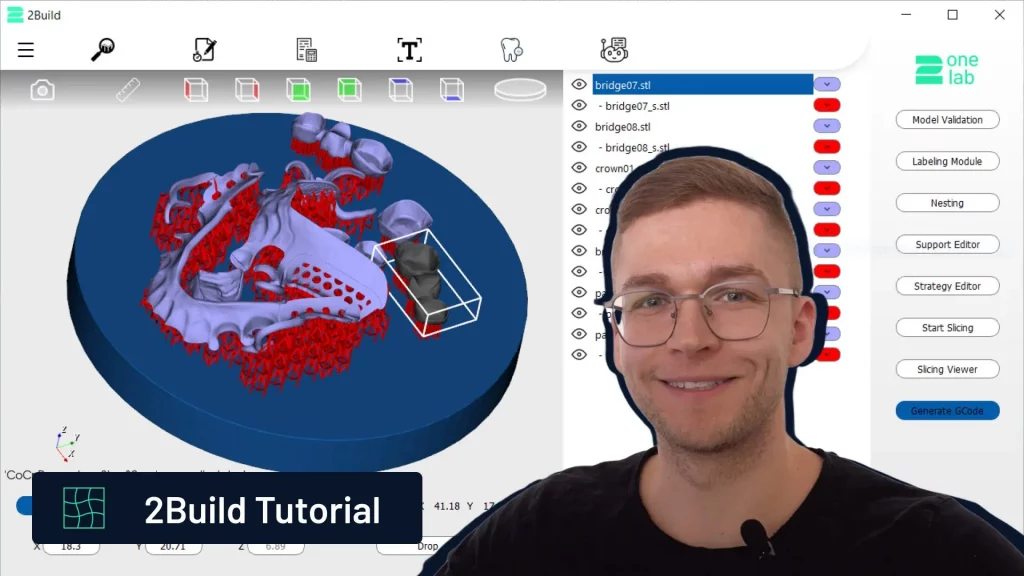
This tutorial outlines the basic steps to create a job in 2Build CAM software. For detailed instructions, refer to our video tutorial below and for more comprehensive information visit the 2Build page.
You are currently viewing a placeholder content from Default. To access the actual content, click the button below. Please note that doing so will share data with third-party providers.
Drag and drop models (e.g., partial frames, crowns, and bridges) into the software.
Adjust the orientation of partial frames using the rotation widget.
2. Label Models (optional):
Add labels (e.g., engraving, extrusion, or tags) using the Labeling Module.
Export the labels to the main building area.
3. Position Models:
Use the nesting feature for automatic placement or position models manually for a dense nesting result.
Maintain a 4mm distance from the building platform and ensure proper spacing.
4. Generate Supports:
Open the Support Editor, select rod or lattice structures, and choose a support template.
Generate supports and export them to the building platform.
5. Apply Printing Strategy:
Attach a printing strategy to models and supports (e.g., cobalt chrome templates).
6. Slice and Export G-Code:
Start slicing to calculate the laser path.
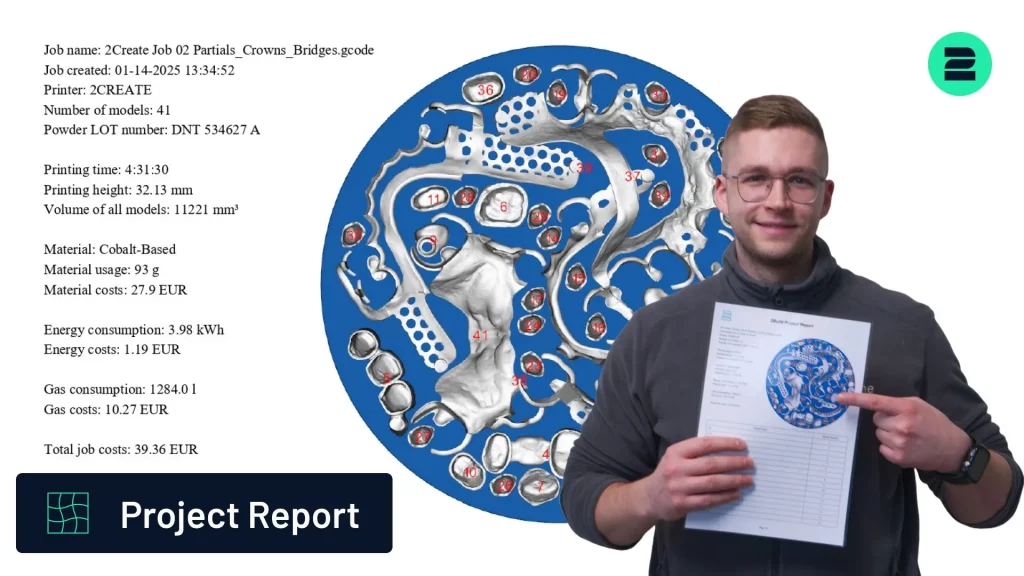
Generate and save the G-Code along with the project report (PDF).
By following these steps in 2Build, you can efficiently prepare your models for metal 3D printing—ensuring accurate support generation, optimal nesting, and reliable G-code output for high-quality results.
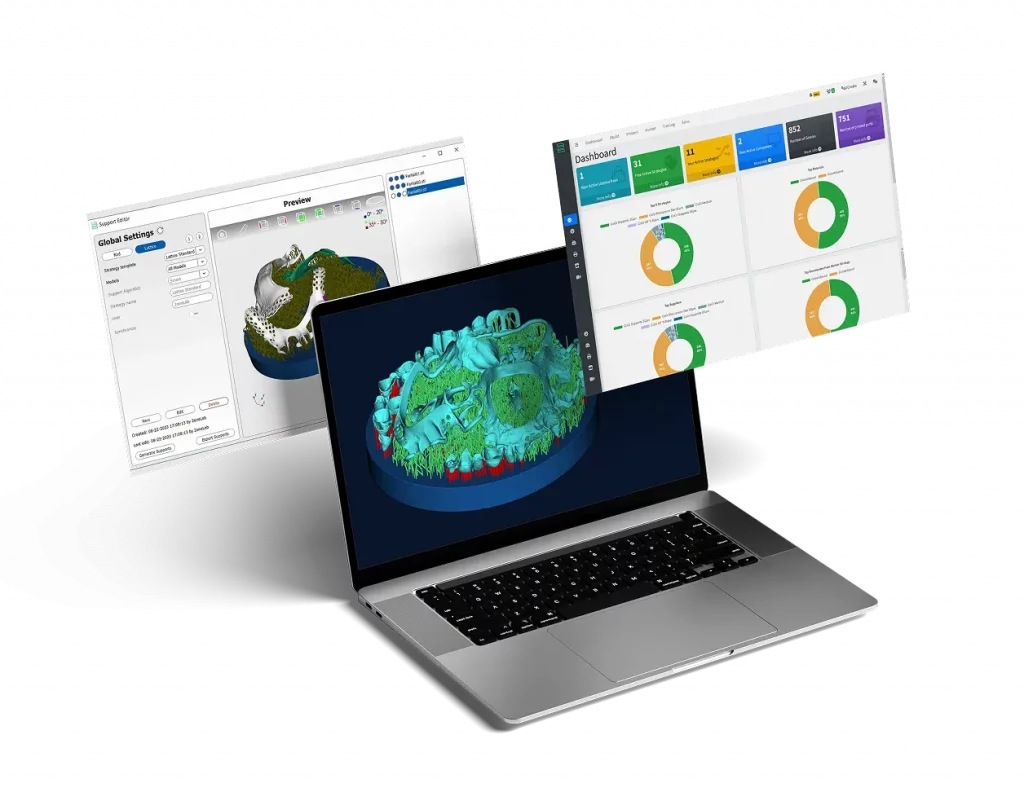
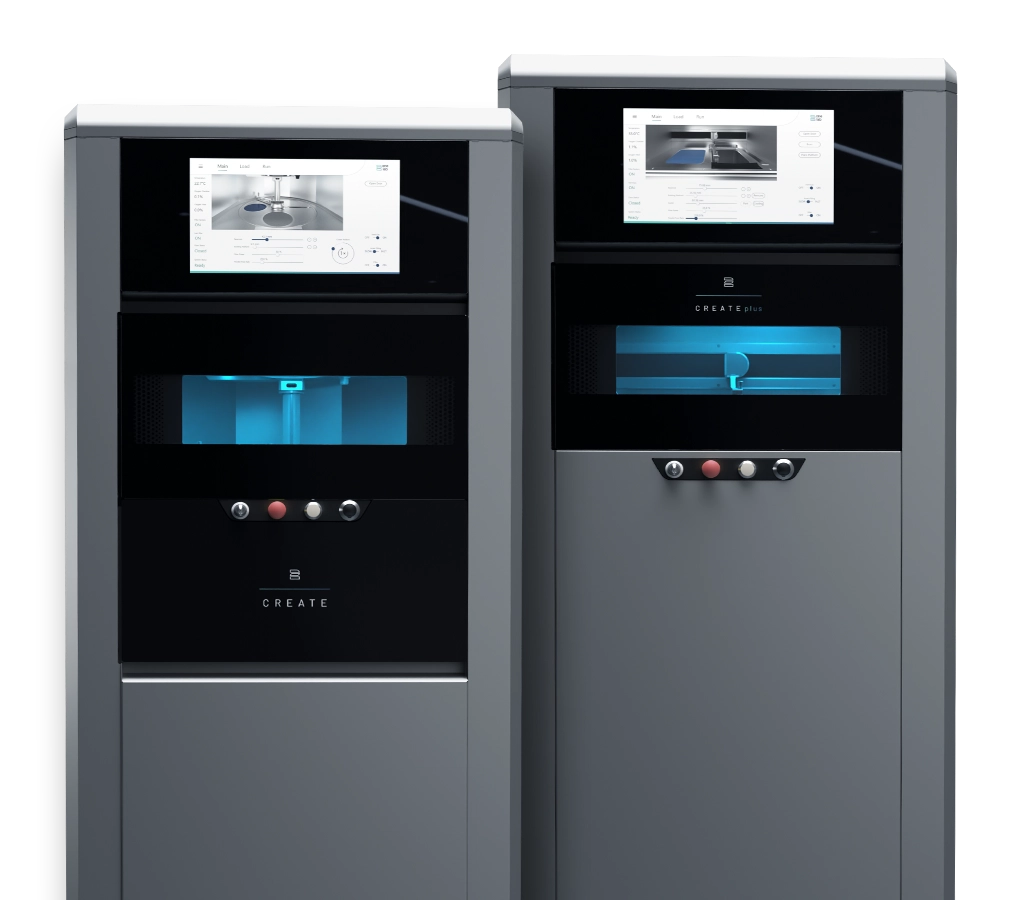
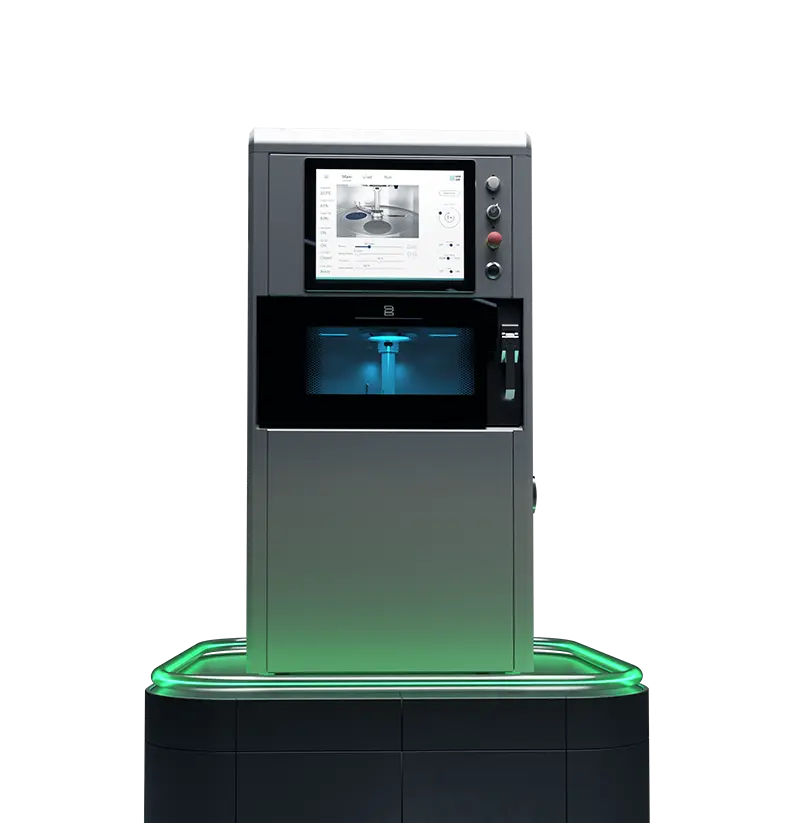
2onelab’s Digital 3D Printing Ecosystem
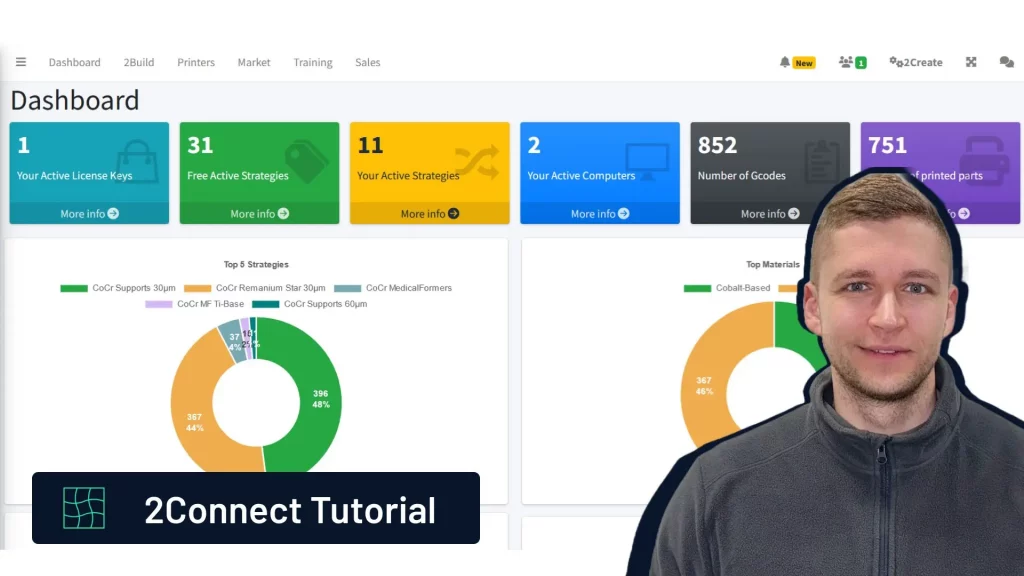
Choose 2onelab’s digital ecosystem – featuring the 2Build CAM software and the 2Connect web app. Efficient. Connected. Precise.
From advanced equipment to high-performance metal 3D printers and smart software — designed to maximize productivity and quality in additive manufacturing.