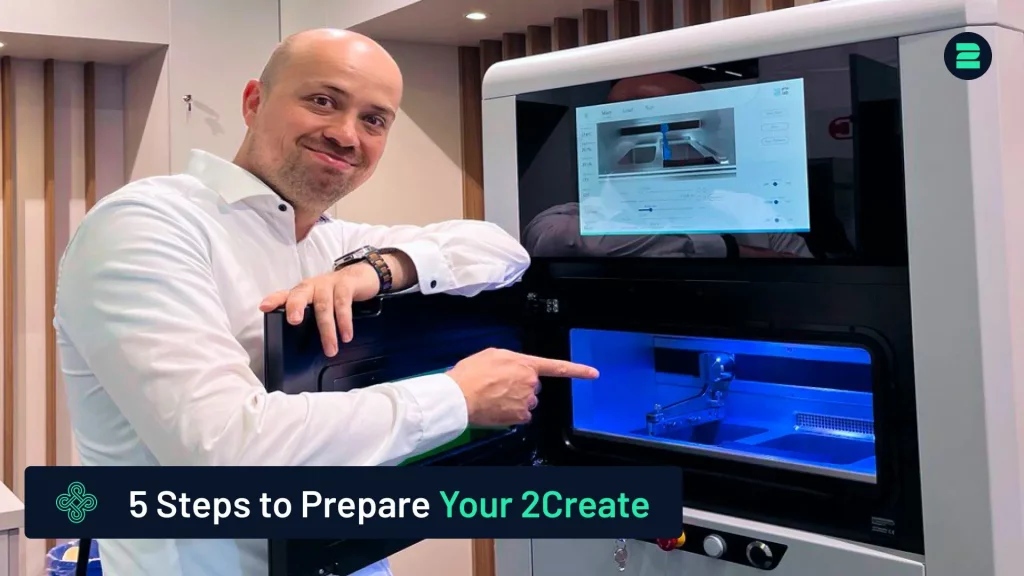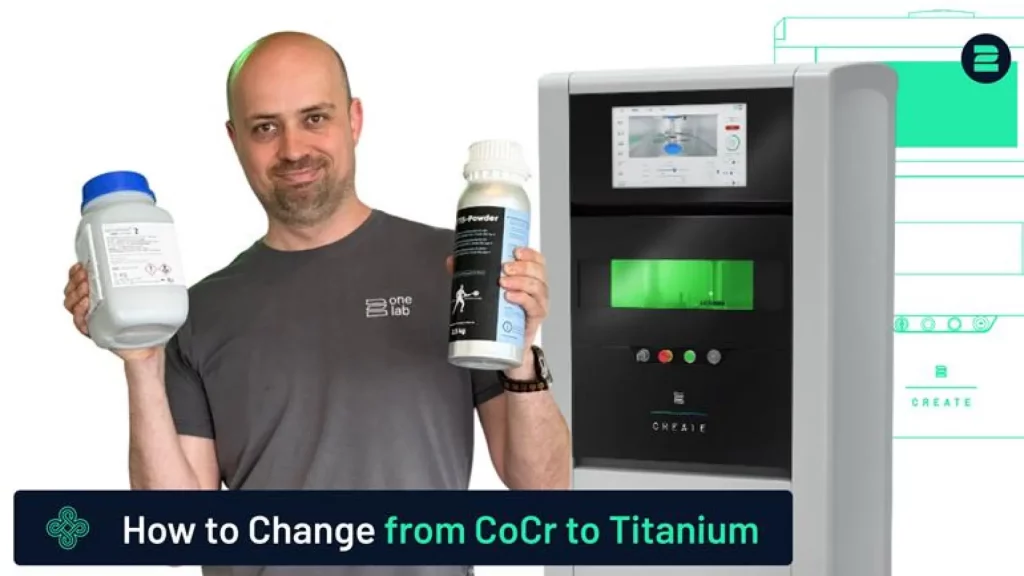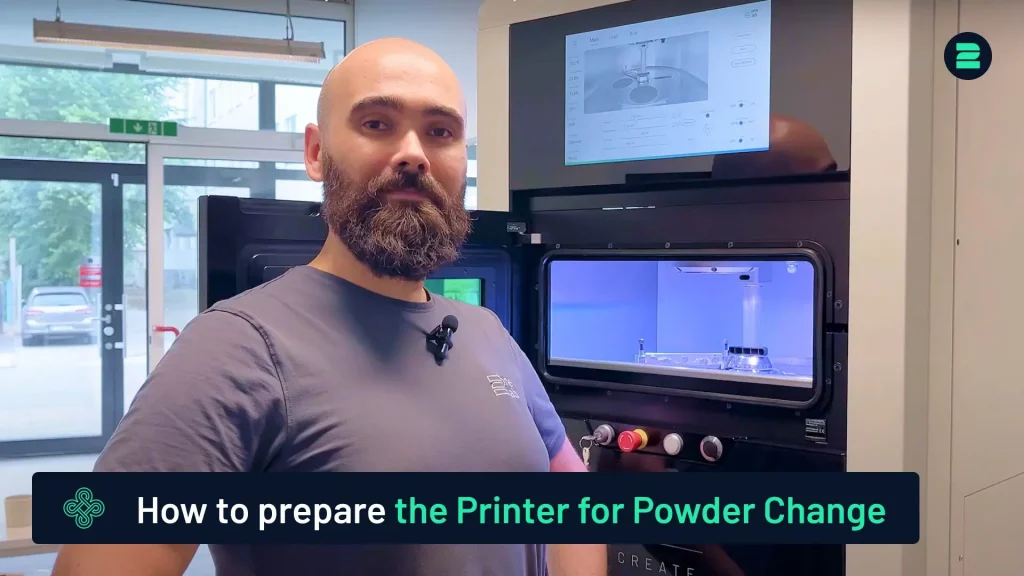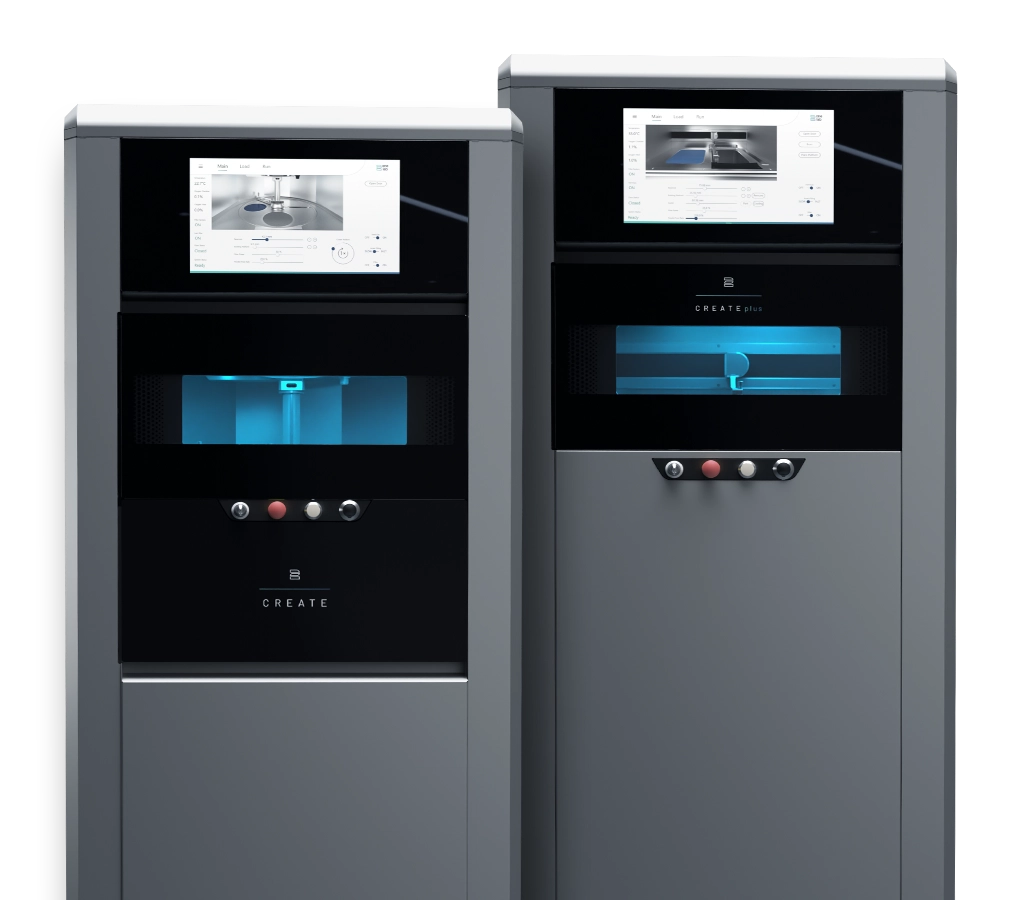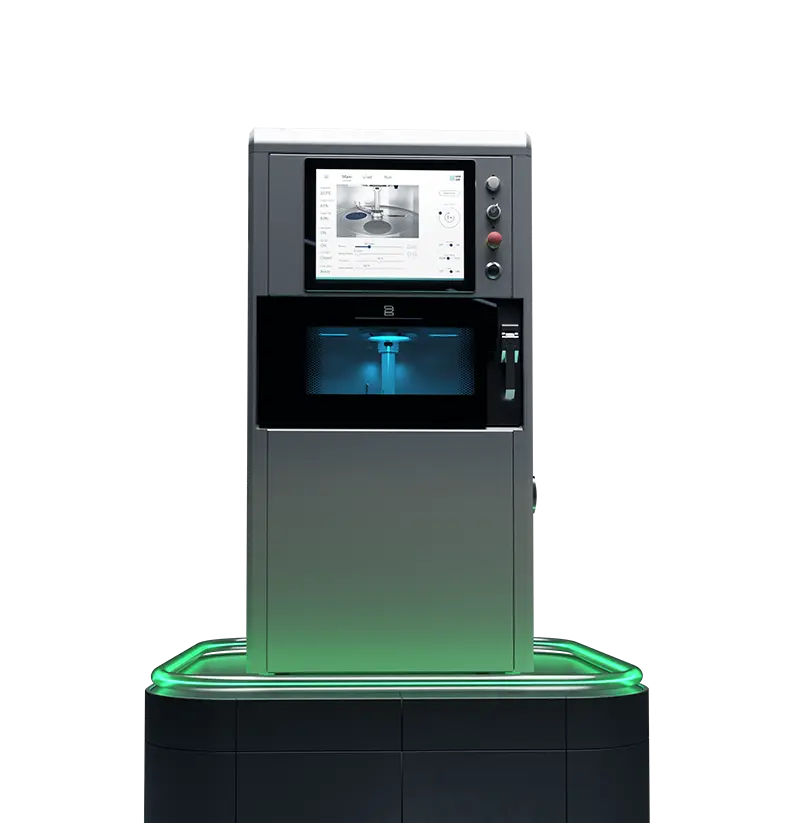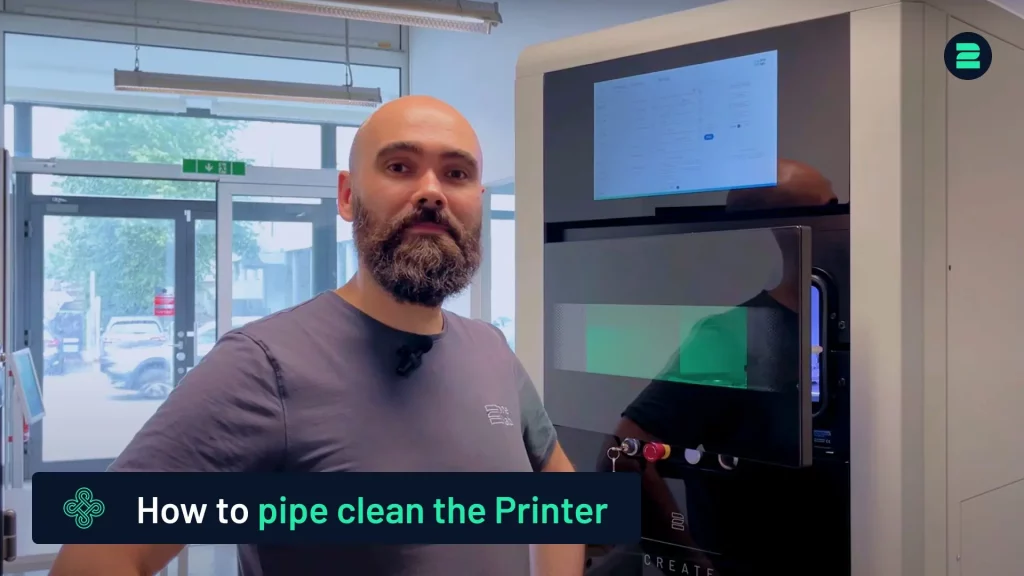
This tutorial covers the pipe cleaning process for the 2Create Metal 3D Printer, typically performed when switching from reactive to non-reactive materials or changing filters. For a detailed demonstration, please refer to the video tutorial.
Sie sehen gerade einen Platzhalterinhalt von YouTube. Um auf den eigentlichen Inhalt zuzugreifen, klicken Sie auf die Schaltfläche unten. Bitte beachten Sie, dass dabei Daten an Drittanbieter weitergegeben werden.
Mehr InformationenStep-by-Step
1. Purpose:
- Pipe cleaning clears any remaining powder in the pipes by activating the extraction motor at full capacity, directing the powder to the filters.
2. Preparation:
Before cleaning, remove all residual powder.
- Clear the building platform, reservoir, and working area.
- Move both axes up and down, then vacuum the shaft to remove any remaining powder.
3. Activate Inert Gas:
- Close the door and activate the inert gas system. Optionally, use fast gas filling until the oxygen level is below 2% to prepare the filter system.
4. Start Pipe Cleaning:
- In the settings menu, select the „Pipe Cleaning“ option. The process will take around 10 minutes.
5. Completion:
- Once finished, the „Pipe Cleaning“ option will disappear from the settings menu, indicating the procedure is complete.
Completing the pipe cleaning process ensures a safe and contamination-free environment inside the 2Create printer, helping maintain optimal performance for your next print job.
Advanced Metal 3D Printers
Choose 2onelab – with the 2Create/2Create Plus and 2Create Desktop metal 3D printers for dental, medical, industrial, and R&D use.
Boost quality, cut costs, and work faster – powered by cutting-edge tech and real-world expertise.