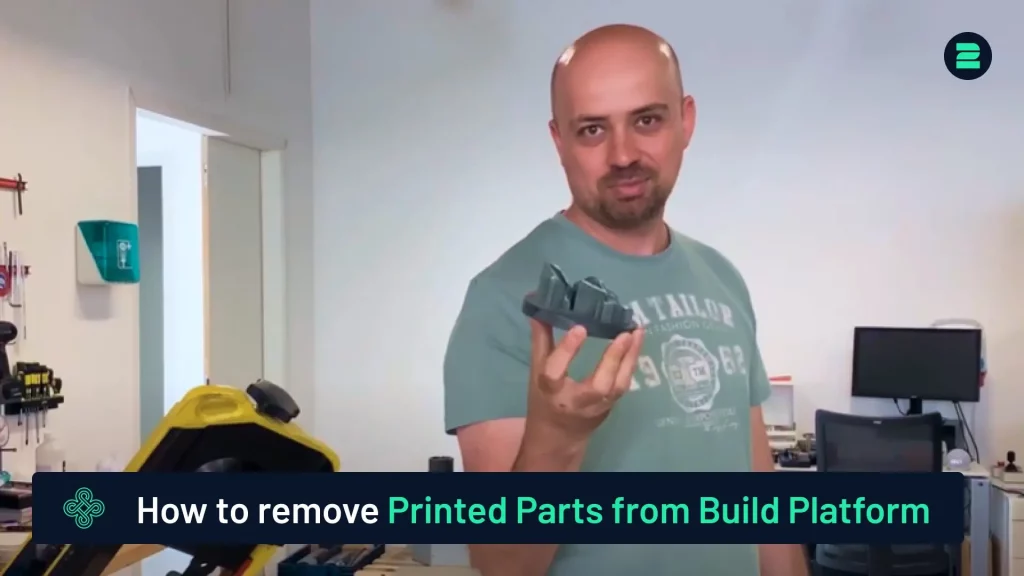
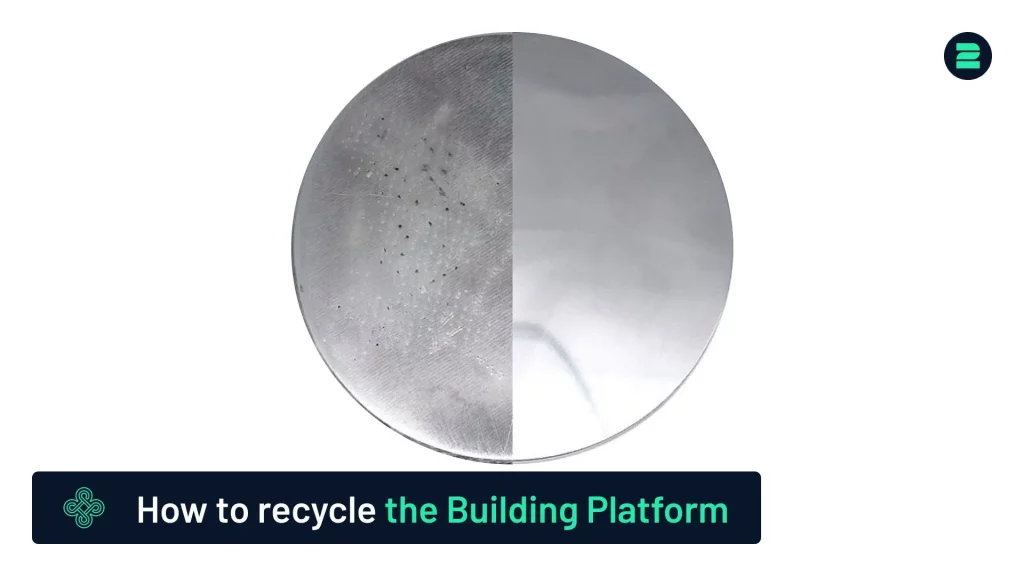
This tutorial explains the best methods for removing parts from the build platform after 3D printing. For a detailed demonstration, please refer to our video tutorial.
You are currently viewing a placeholder content from Default. To access the actual content, click the button below. Please note that doing so will share data with third-party providers.
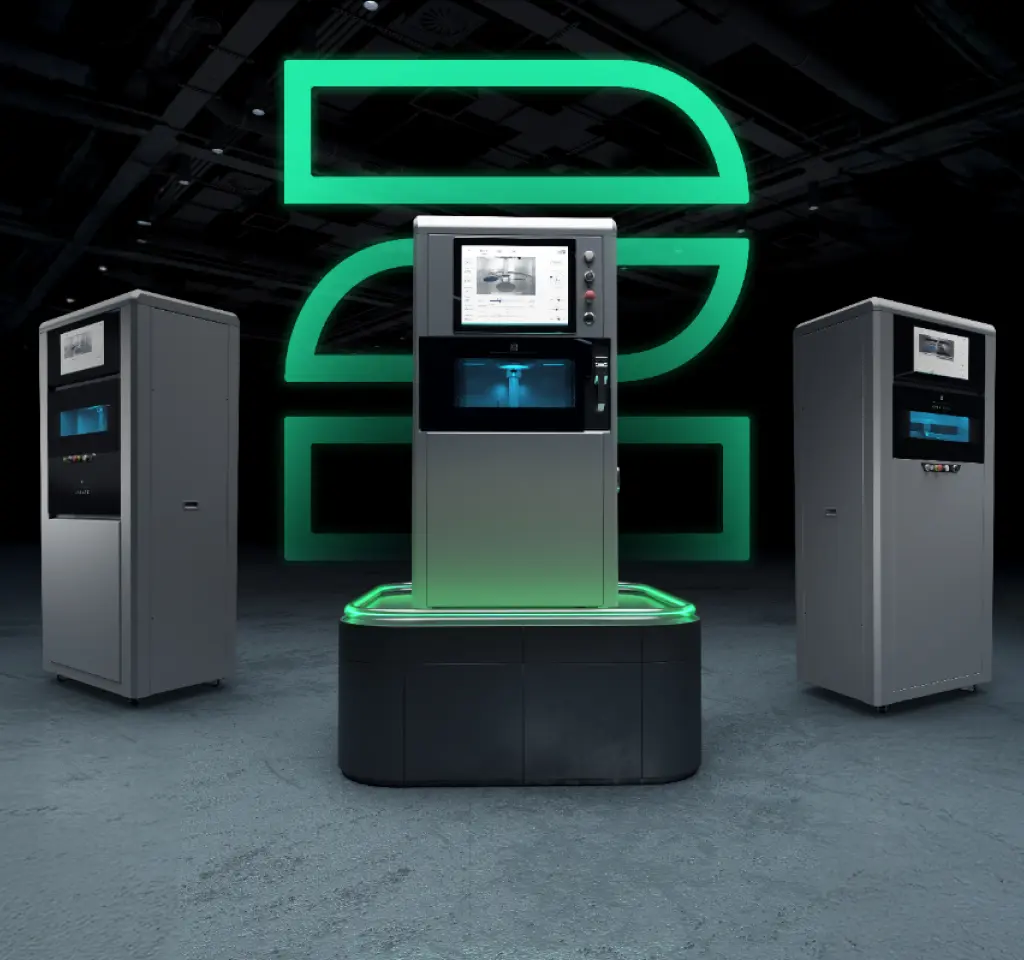
More InformationRemoval Options
- Ensure the machine is powered off.
- Wear the necessary protective equipment for safety.
2. Remove the Old Filters:
- Open the door.
- Release the two clasps.
- Unscrew the two screws.
- Disconnect the grounding cables.
- Carefully remove both filters: the pre-filter and the main filter.
3. Install the New Filters:
- Insert the new filters into place.
- Note: The main filter has two possible orientations. Ensure the rubber side faces the machine, as shown by the airflow sticker.
4. Reassemble the Machine:
- Reattach the screws and grounding cables.
- Close the door securely.
Important Tip
When using a bandsaw, select a blade with at least 18 teeth per inch to ensure a smooth, homogeneous, and non-vibrating cut.
By following these guidelines, you can efficiently remove your parts with minimal effort and optimal results.
Advanced Metal 3D Printers
Choose 2onelab – with the 2Create/2Create Plus and 2Create Desktop metal 3D printers for dental, medical, industrial, and R&D use.
Boost quality, cut costs, and work faster – powered by cutting-edge tech and real-world expertise.