2onelab

Tutorial with example: How to make the Heat Treatment

How to make the Heat Treatment of 3D Printed Parts

This tutorial provides a step-by-step guide on how to perform the heat treatment of 3D-printed parts after printing. For a detailed demonstration of the process, please refer to our video tutorial below.

You are currently viewing a placeholder content from Default. To access the actual content, click the button below. Please note that doing so will share data with third-party providers.

More Information

Why Heat Treatment is Important

Heat treatment is crucial for removing residual thermal stress from printed parts, particularly those made from cobalt chrome or titanium. Without this process, parts are prone to bending after cutting, which compromises their fit and functionality.

When to perform Heat Treatment

  • On the building plate, immediately after the printing process.
  • Before cutting the part from the building platform.

Steps for Heat Treatment

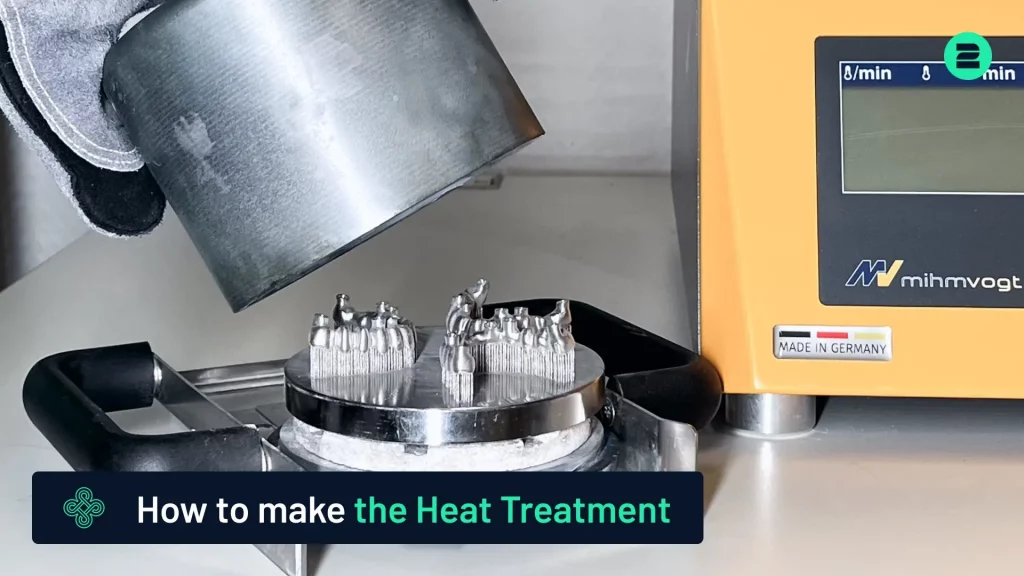
1. Prepare the Part:
  • Place the part in a specialized holder and secure it with the provided cap.

2. Conduct Heat Treatment:
  • Perform the process under an argon atmosphere. The cap prevents oxygen from entering, ensuring the part remains free from oxidation.

3. Allow the Part to Cool:
  • After the heat treatment, leave the part in the furnace to cool for at least 30 minutes before removing it.

Benefits of Heat Treatment

  • Prevents oxidation.
  • Relieves residual stresses.
  • Ensures dimensional stability and perfect fit for subsequent processes, such as cutting on a bandsaw.

Discover Our Heat Treatment Furnaces

Choose 2onelab’s digital 3D printing ecosystem – with the HTS-2/Metal Glow-120+ and Glow Cube-200+.

Efficient post-processing. Powered by real-world expertise.

Learn More

How to Recycle the Building Platform

How to Remove 3D Printed Parts from the Building Platform

How to Remove Supports from 3D-Printed Parts

Picture of Markus Wolf
Markus Wolf
Passionate about 3D printing, while being CTO and Co-Founder of 2onelab.
Share This Blog Post

All Our Tutorials

How to Prepare Your 2Create 3D Metal Printer in 5 Simple Steps
Markus from 2onelab shows you how to safely and efficiently prepare your 2Create 3D metal printer.
How to Switch from CoCr to Titanium for Titanium 3D Printing
This guide provides a quick and reliable method for switching your 3D printer from CoCr to Titanium.
How to Use a Nabertherm Heating Oven for Dental Parts
Discover the process of using a Nabertherm heating oven for stress relief of dental parts after 3D printing.
How to remove supports from your printed part
How to Remove Supports from 3D-Printed Parts
This tutorial provides a quick and easy method for removing supports from your 3D-printed parts.
How to Prepare the 2Create for Powder Change
Learn how to prepare the 2Create Metal 3D Printer for a powder change from non-reactive to reactive materials.
Pipe Cleaning Procedure for the 2Create
This tutorial covers the pipe cleaning process for the 2Create Metal 3D Printer, typically performed when switching from reactive to non-reactive materials or changing filters.

Metal 3D Printing Made Simple

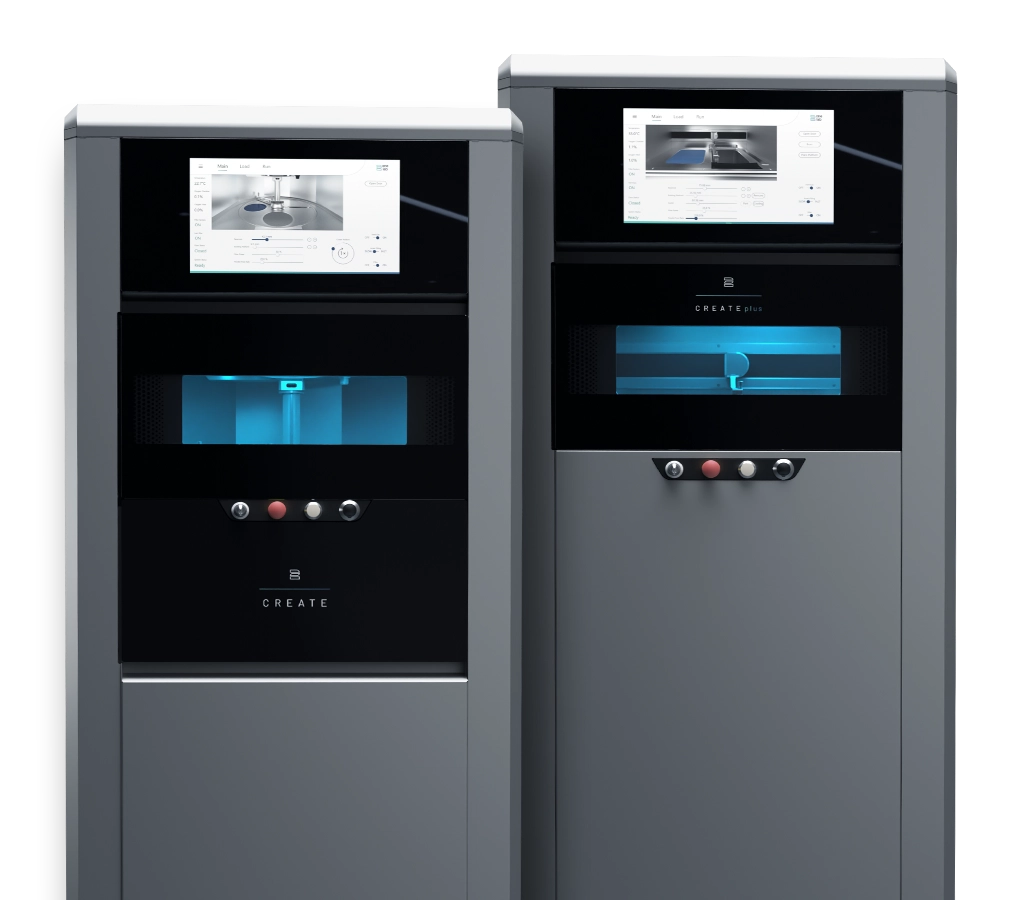
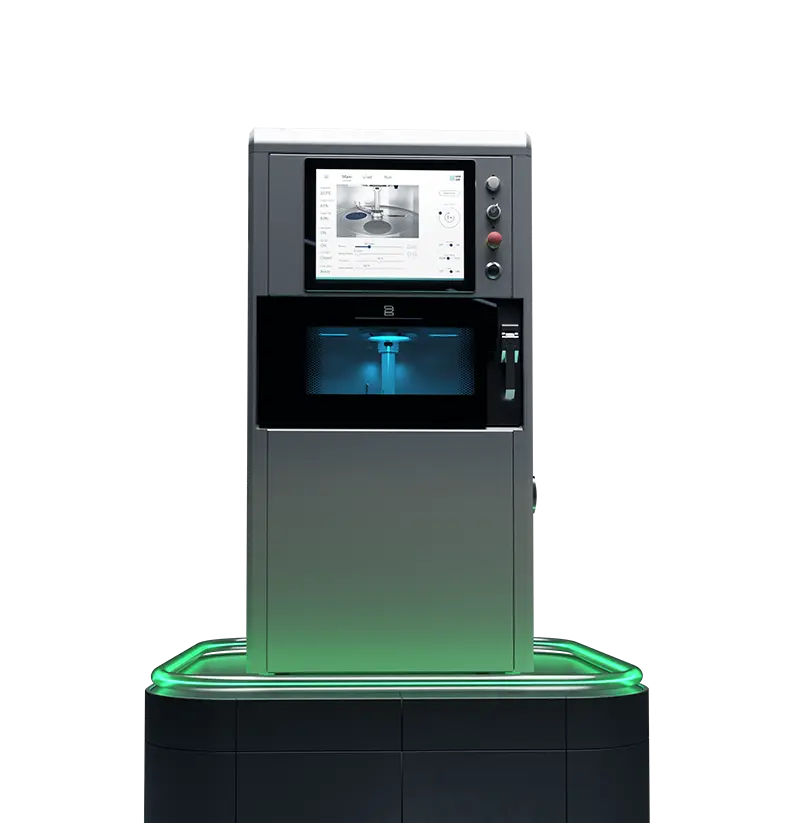
From advanced equipment to high-performance metal 3D printers and smart software — designed to maximize productivity and quality in additive manufacturing. 

You are here