2onelab

How to Remove 3D Printed Parts from the Building Platform

How to Remove 3D Printed Parts from the Building Platform

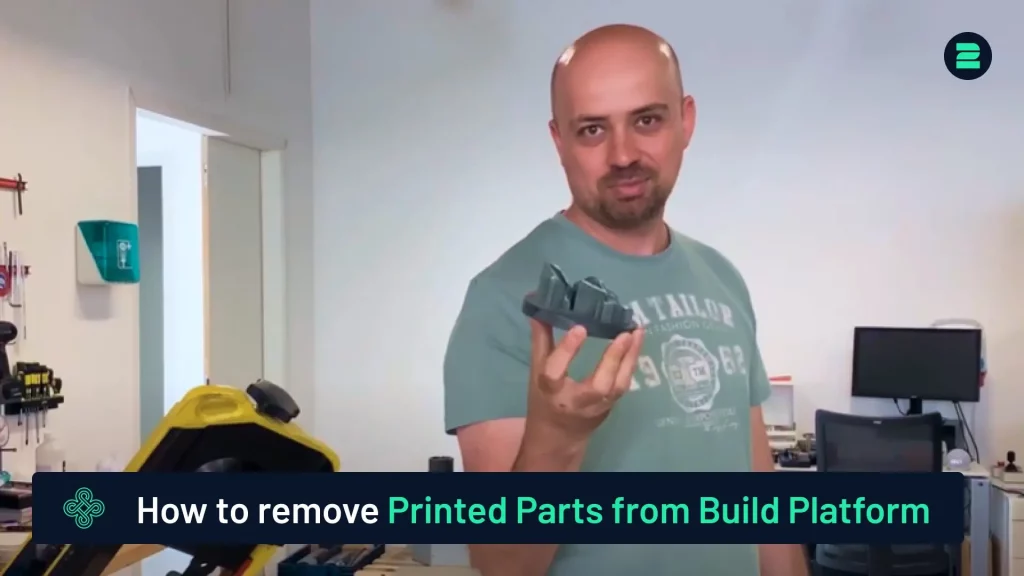
This tutorial explains the best methods for removing parts from the build platform after 3D printing. For a detailed demonstration, please refer to our video tutorial.

Sie sehen gerade einen Platzhalterinhalt von YouTube. Um auf den eigentlichen Inhalt zuzugreifen, klicken Sie auf die Schaltfläche unten. Bitte beachten Sie, dass dabei Daten an Drittanbieter weitergegeben werden.

Mehr Informationen

Removal Options

  • Ensure the machine is powered off.
  • Wear the necessary protective equipment for safety.


2. Remove the Old Filters:

  • Open the door.
  • Release the two clasps.
  • Unscrew the two screws.
  • Disconnect the grounding cables.
  • Carefully remove both filters: the pre-filter and the main filter.


3. Install the New Filters:

  • Insert the new filters into place.
  • Note: The main filter has two possible orientations. Ensure the rubber side faces the machine, as shown by the airflow sticker.


4. Reassemble the Machine:

  • Reattach the screws and grounding cables.
  • Close the door securely.

Important Tip

When using a bandsaw, select a blade with at least 18 teeth per inch to ensure a smooth, homogeneous, and non-vibrating cut.

By following these guidelines, you can efficiently remove your parts with minimal effort and optimal results.

Advanced Metal 3D Printers

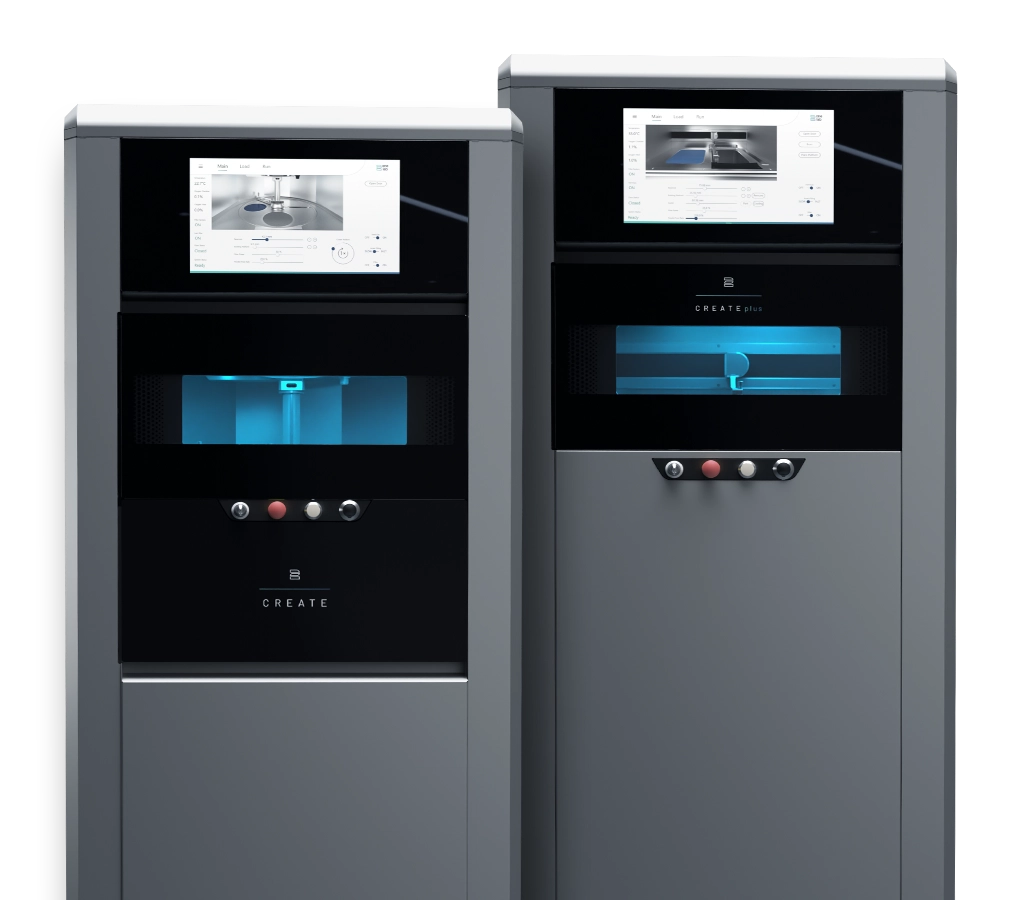
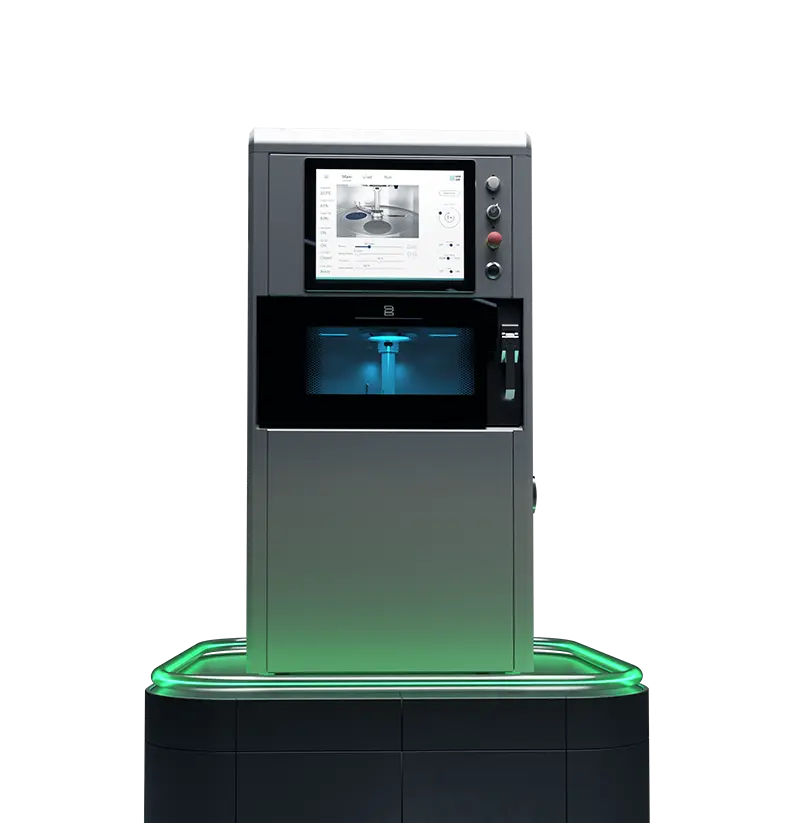
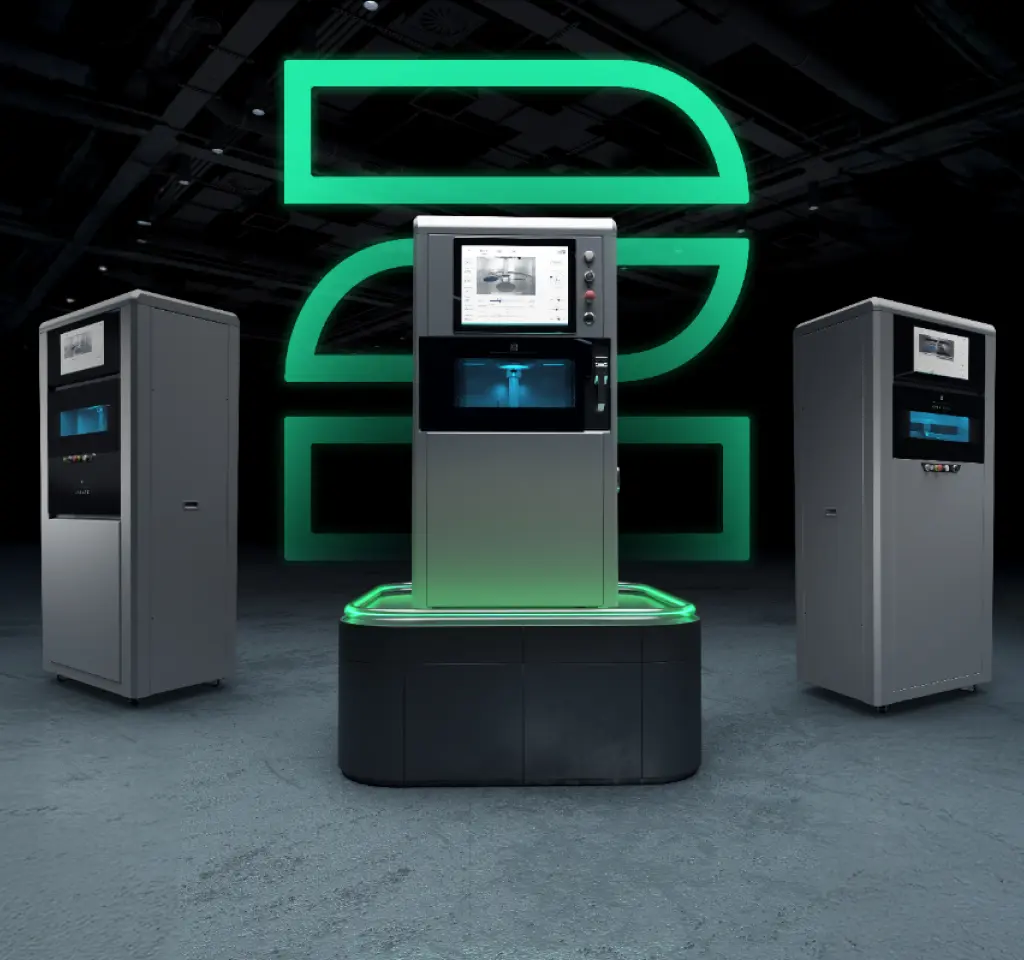
Choose 2onelab – with the 2Create/2Create Plus and 2Create Desktop metal 3D printers for dental, medical, industrial, and R&D use.

Boost quality, cut costs, and work faster – powered by cutting-edge tech and real-world expertise.

Learn More

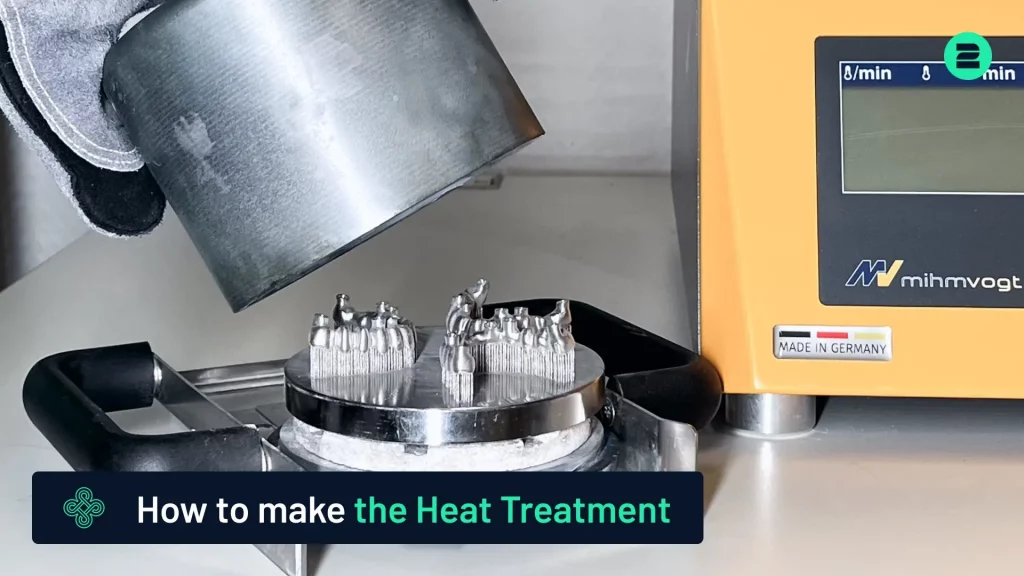
How to Perform Heat Treatment on 3D Printed Parts

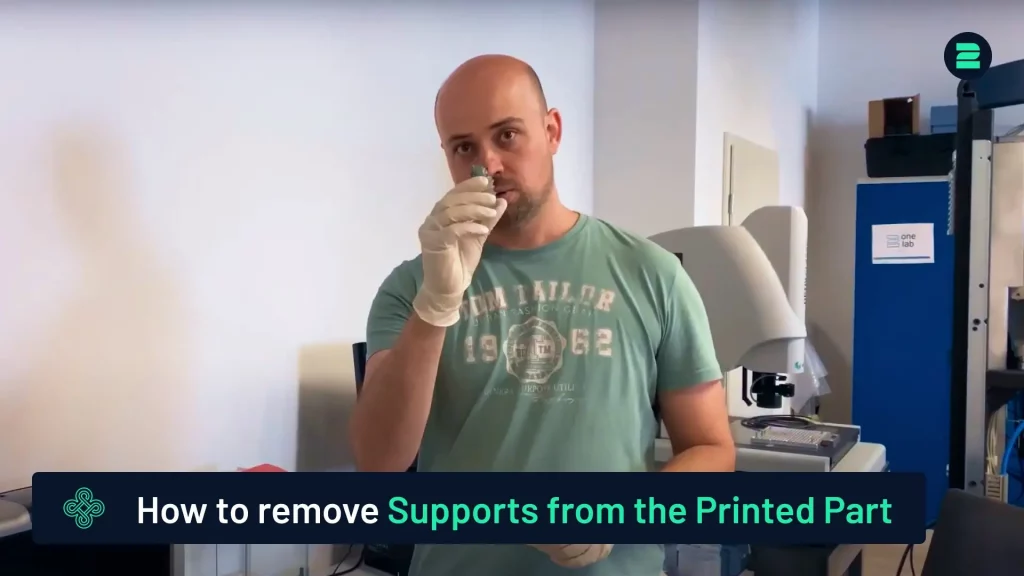
How to Remove Supports from 3D-Printed Parts

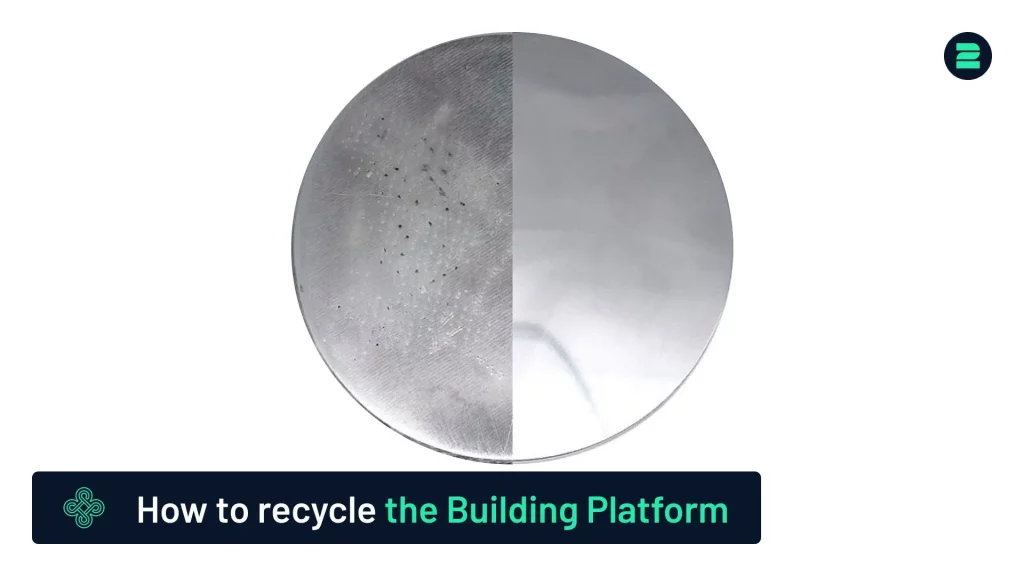
How to Recycle the Building Platform

Bild von Markus Wolf
Markus Wolf
Passionate about 3D printing, while being CTO and Co-Founder of 2onelab.
Share This Blog Post

All Our Tutorials

How to Prepare Your 2Create 3D Metal Printer in 5 Simple Steps
Markus from 2onelab shows you how to safely and efficiently prepare your 2Create 3D metal printer.
How to Switch from CoCr to Titanium for Titanium 3D Printing
This guide provides a quick and reliable method for switching your 3D printer from CoCr to Titanium.
How to Use a Nabertherm Heating Oven for Dental Parts
Discover the process of using a Nabertherm heating oven for stress relief of dental parts after 3D printing.
How to remove supports from your printed part
How to Remove Supports from 3D-Printed Parts
This tutorial provides a quick and easy method for removing supports from your 3D-printed parts.
How to Prepare the 2Create for Powder Change
Learn how to prepare the 2Create Metal 3D Printer for a powder change from non-reactive to reactive materials.
Pipe Cleaning Procedure for the 2Create
This tutorial covers the pipe cleaning process for the 2Create Metal 3D Printer, typically performed when switching from reactive to non-reactive materials or changing filters.

Metal 3D Printing Made Simple

From advanced equipment to high-performance metal 3D printers and smart software — designed to maximize productivity and quality in additive manufacturing. 

You are here