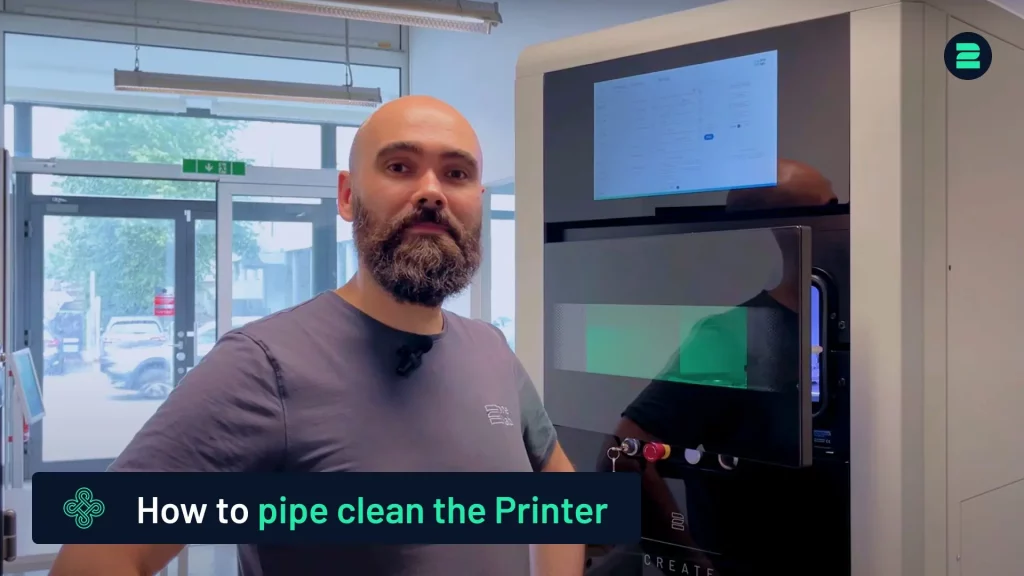
In this tutorial, we will explain how to change the exhaust filter on the 2Create metal 3D printer. For a visual guide, you can also refer to our tutorial video.
You are currently viewing a placeholder content from Default. To access the actual content, click the button below. Please note that doing so will share data with third-party providers.
Wear the necessary protective equipment for safety.
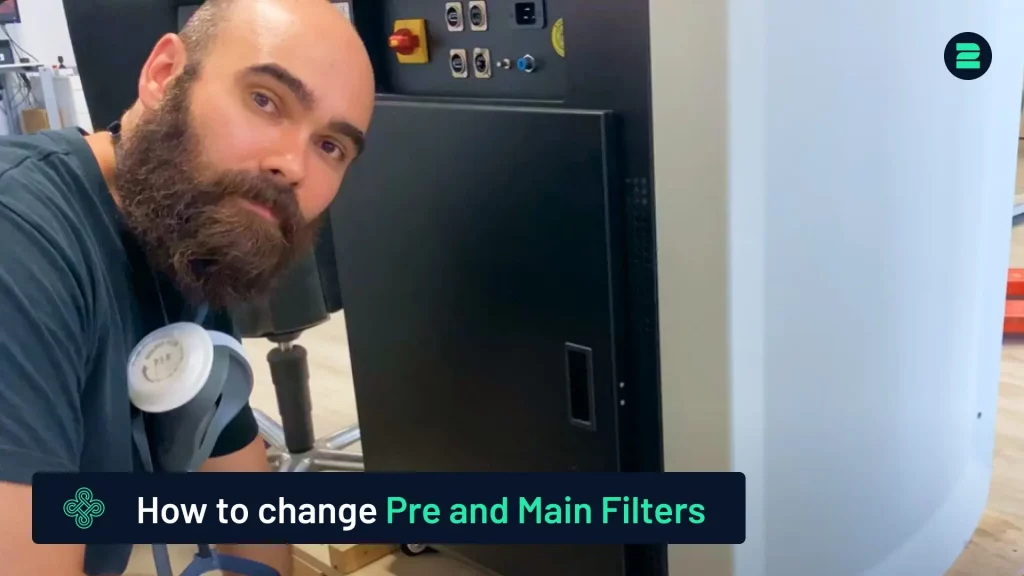
2. Remove the Old Filters:
Open the door.
Release the two clasps.
Unscrew the two screws.
Disconnect the grounding cables.
Carefully remove both filters: the pre-filter and the main filter.
3. Install the New Filters:
Insert the new filters into place.
Note: The main filter has two possible orientations. Ensure the rubber side faces the machine, as shown by the airflow sticker.
4. Reassemble the Machine:
Reattach the screws and grounding cables.
Close the door securely.
By following these steps, you’ll ensure safe and proper filter replacement, keeping your 2Create printerrunning efficiently and maintaining a clean printing environment.
From advanced equipment to high-performance metal 3D printers and smart software — designed to maximize productivity and quality in additive manufacturing.